
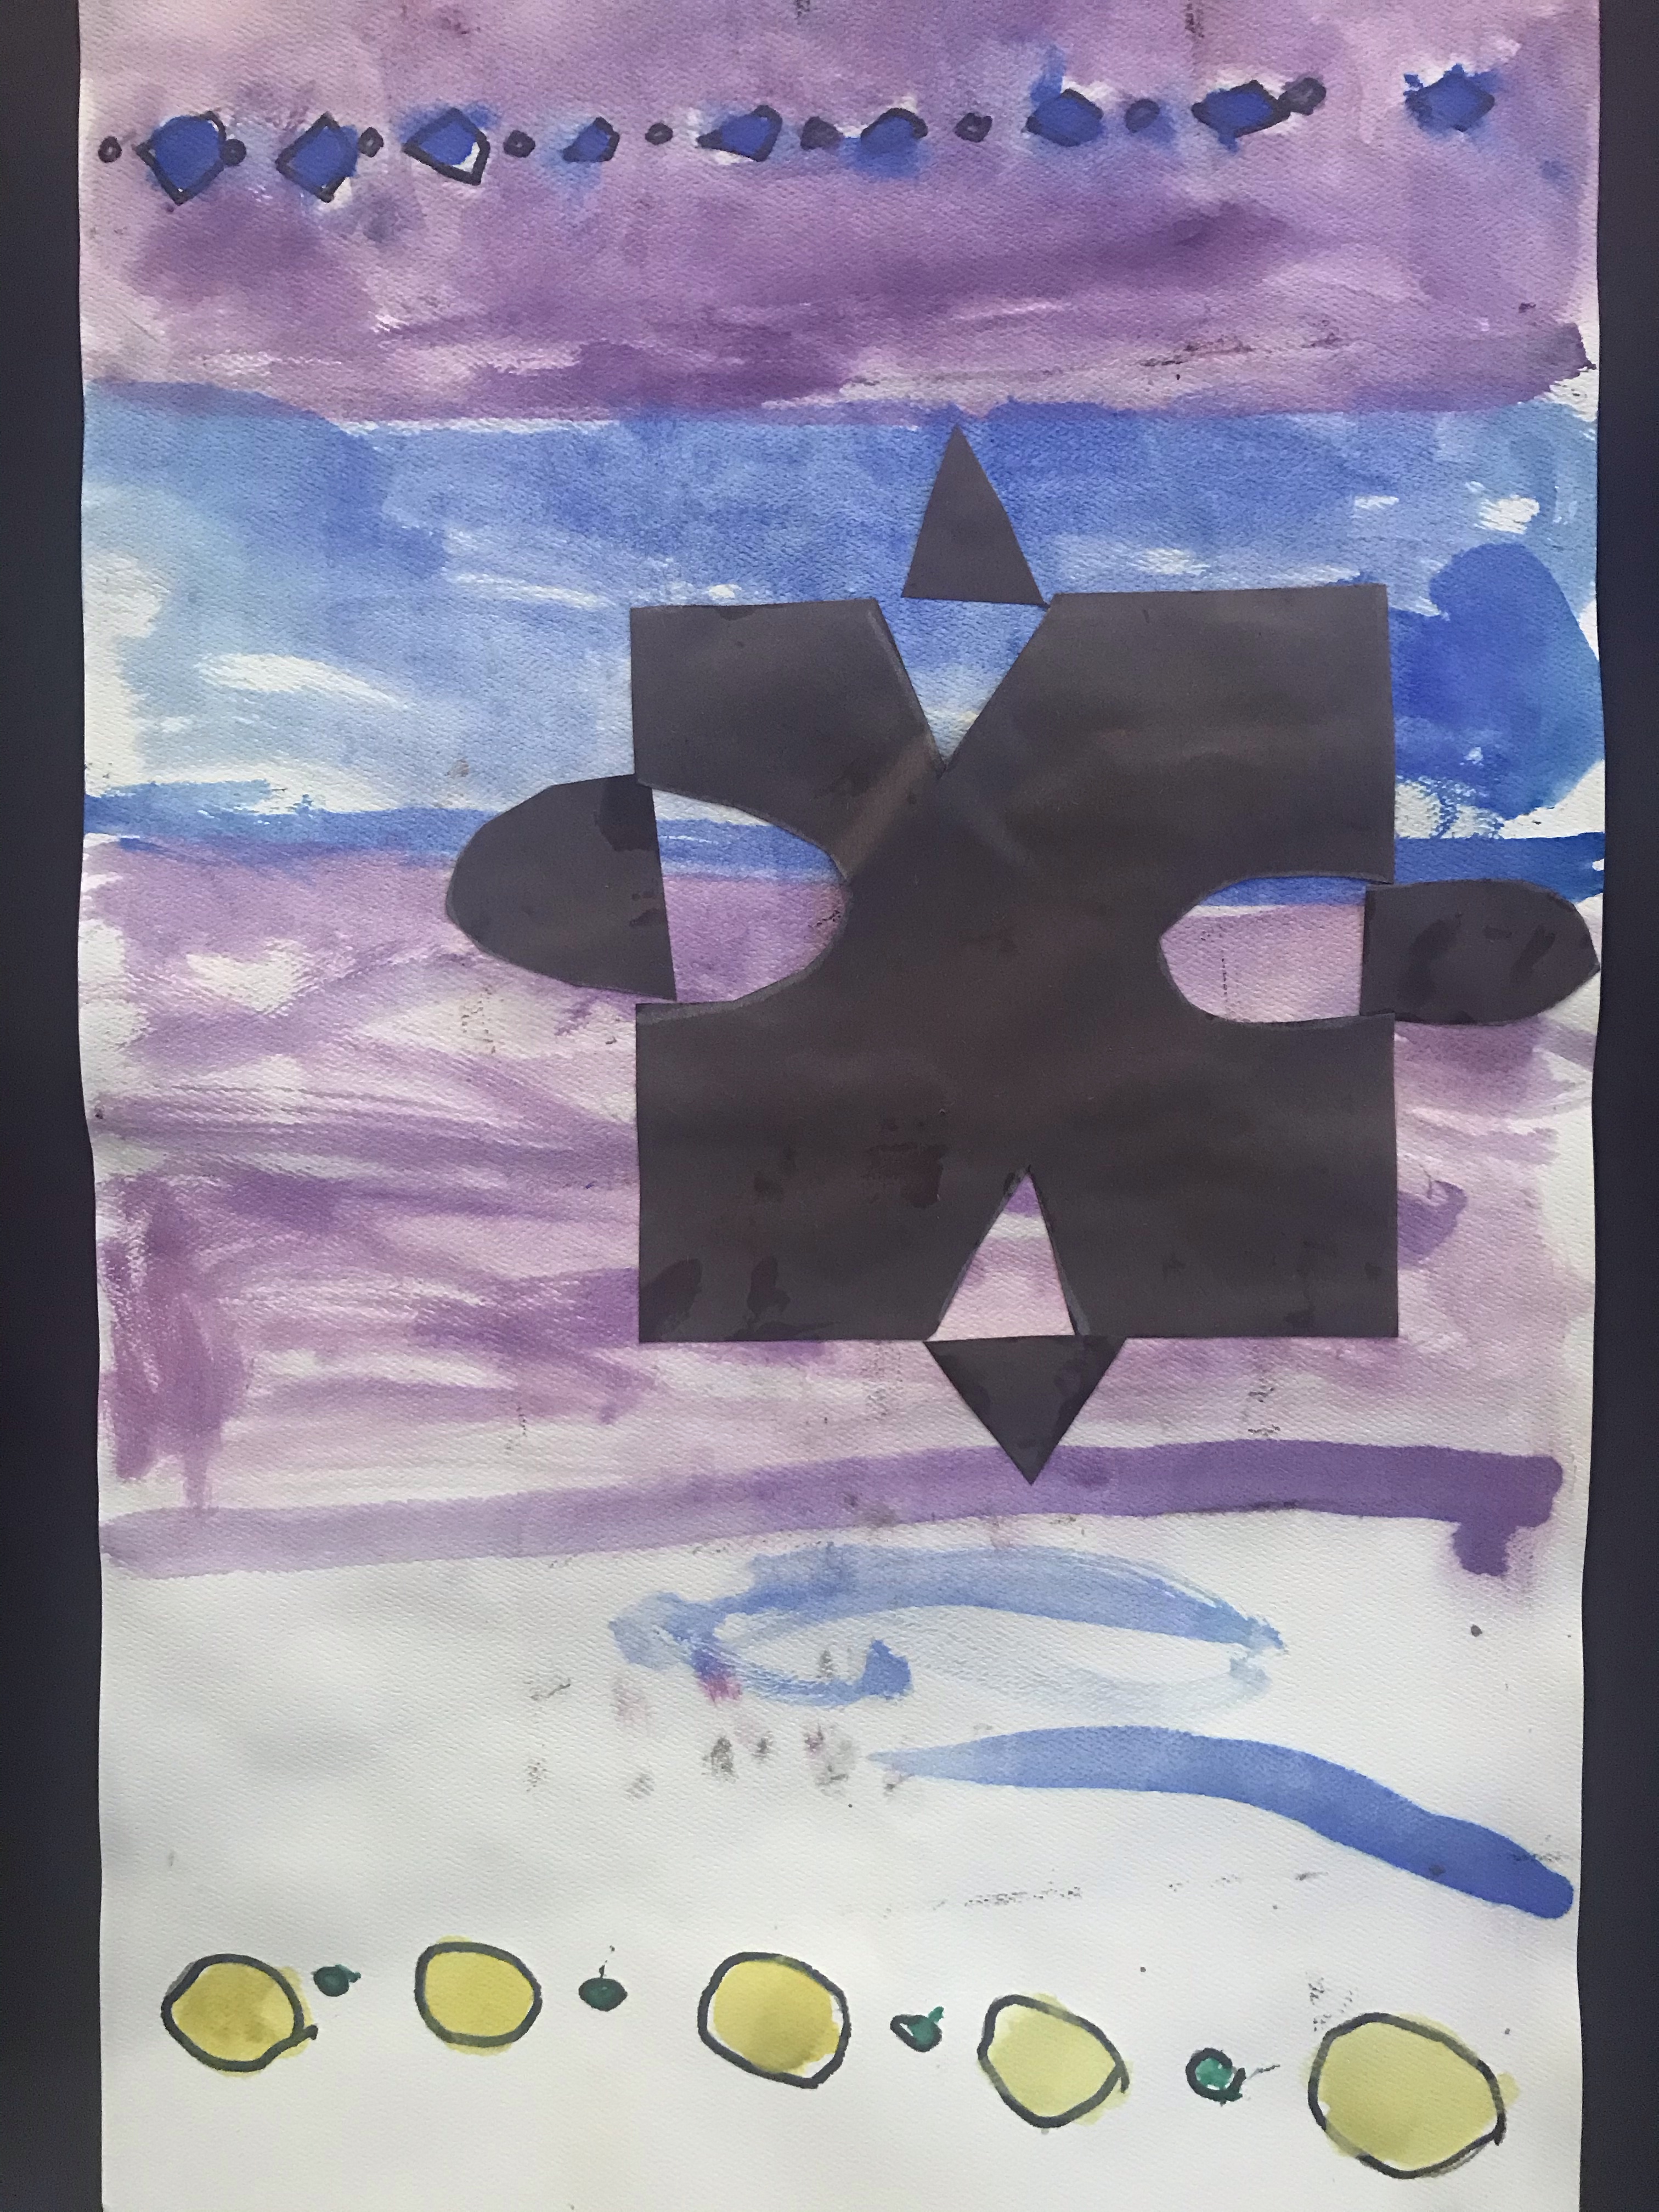
Geometric shapes were the basis for our next project. I define geometric shapes as being shapes with rules. A triangle has to have 3 sides or a rectangle has to have 4 sides with 2 being short and 2 being long. Geometric shapes have to follow these rules, no matter how big or small they are. I read the book When a Line Bends, a Shape Begins by Rhonda Greene. While reading this book, we played I Spy to find geometric shapes in the rooms we were in. Next, I passed out our pencils and we made a geometric shape pattern as a border around our paper. Each artist had a few ways they could create their border. They could repeat their pattern around all four sides of the paper, across the top and bottom, or up and down each side. We talked about patterns and how it was also the artist’s choice to have different geometric shapes repeating or a pattern of size repeating for their border. We drew these in pencil first before tracing with sharpie marker. The final step was to create a watercolor wash over the entire paper. A watercolor wash is a technique where the paper is washed in water before applying the watercolors. With the paper being so saturated, it causes the paint colors to bleed together and mixed without the use of blending by paintbrush. The effect can look similar to tie dye.
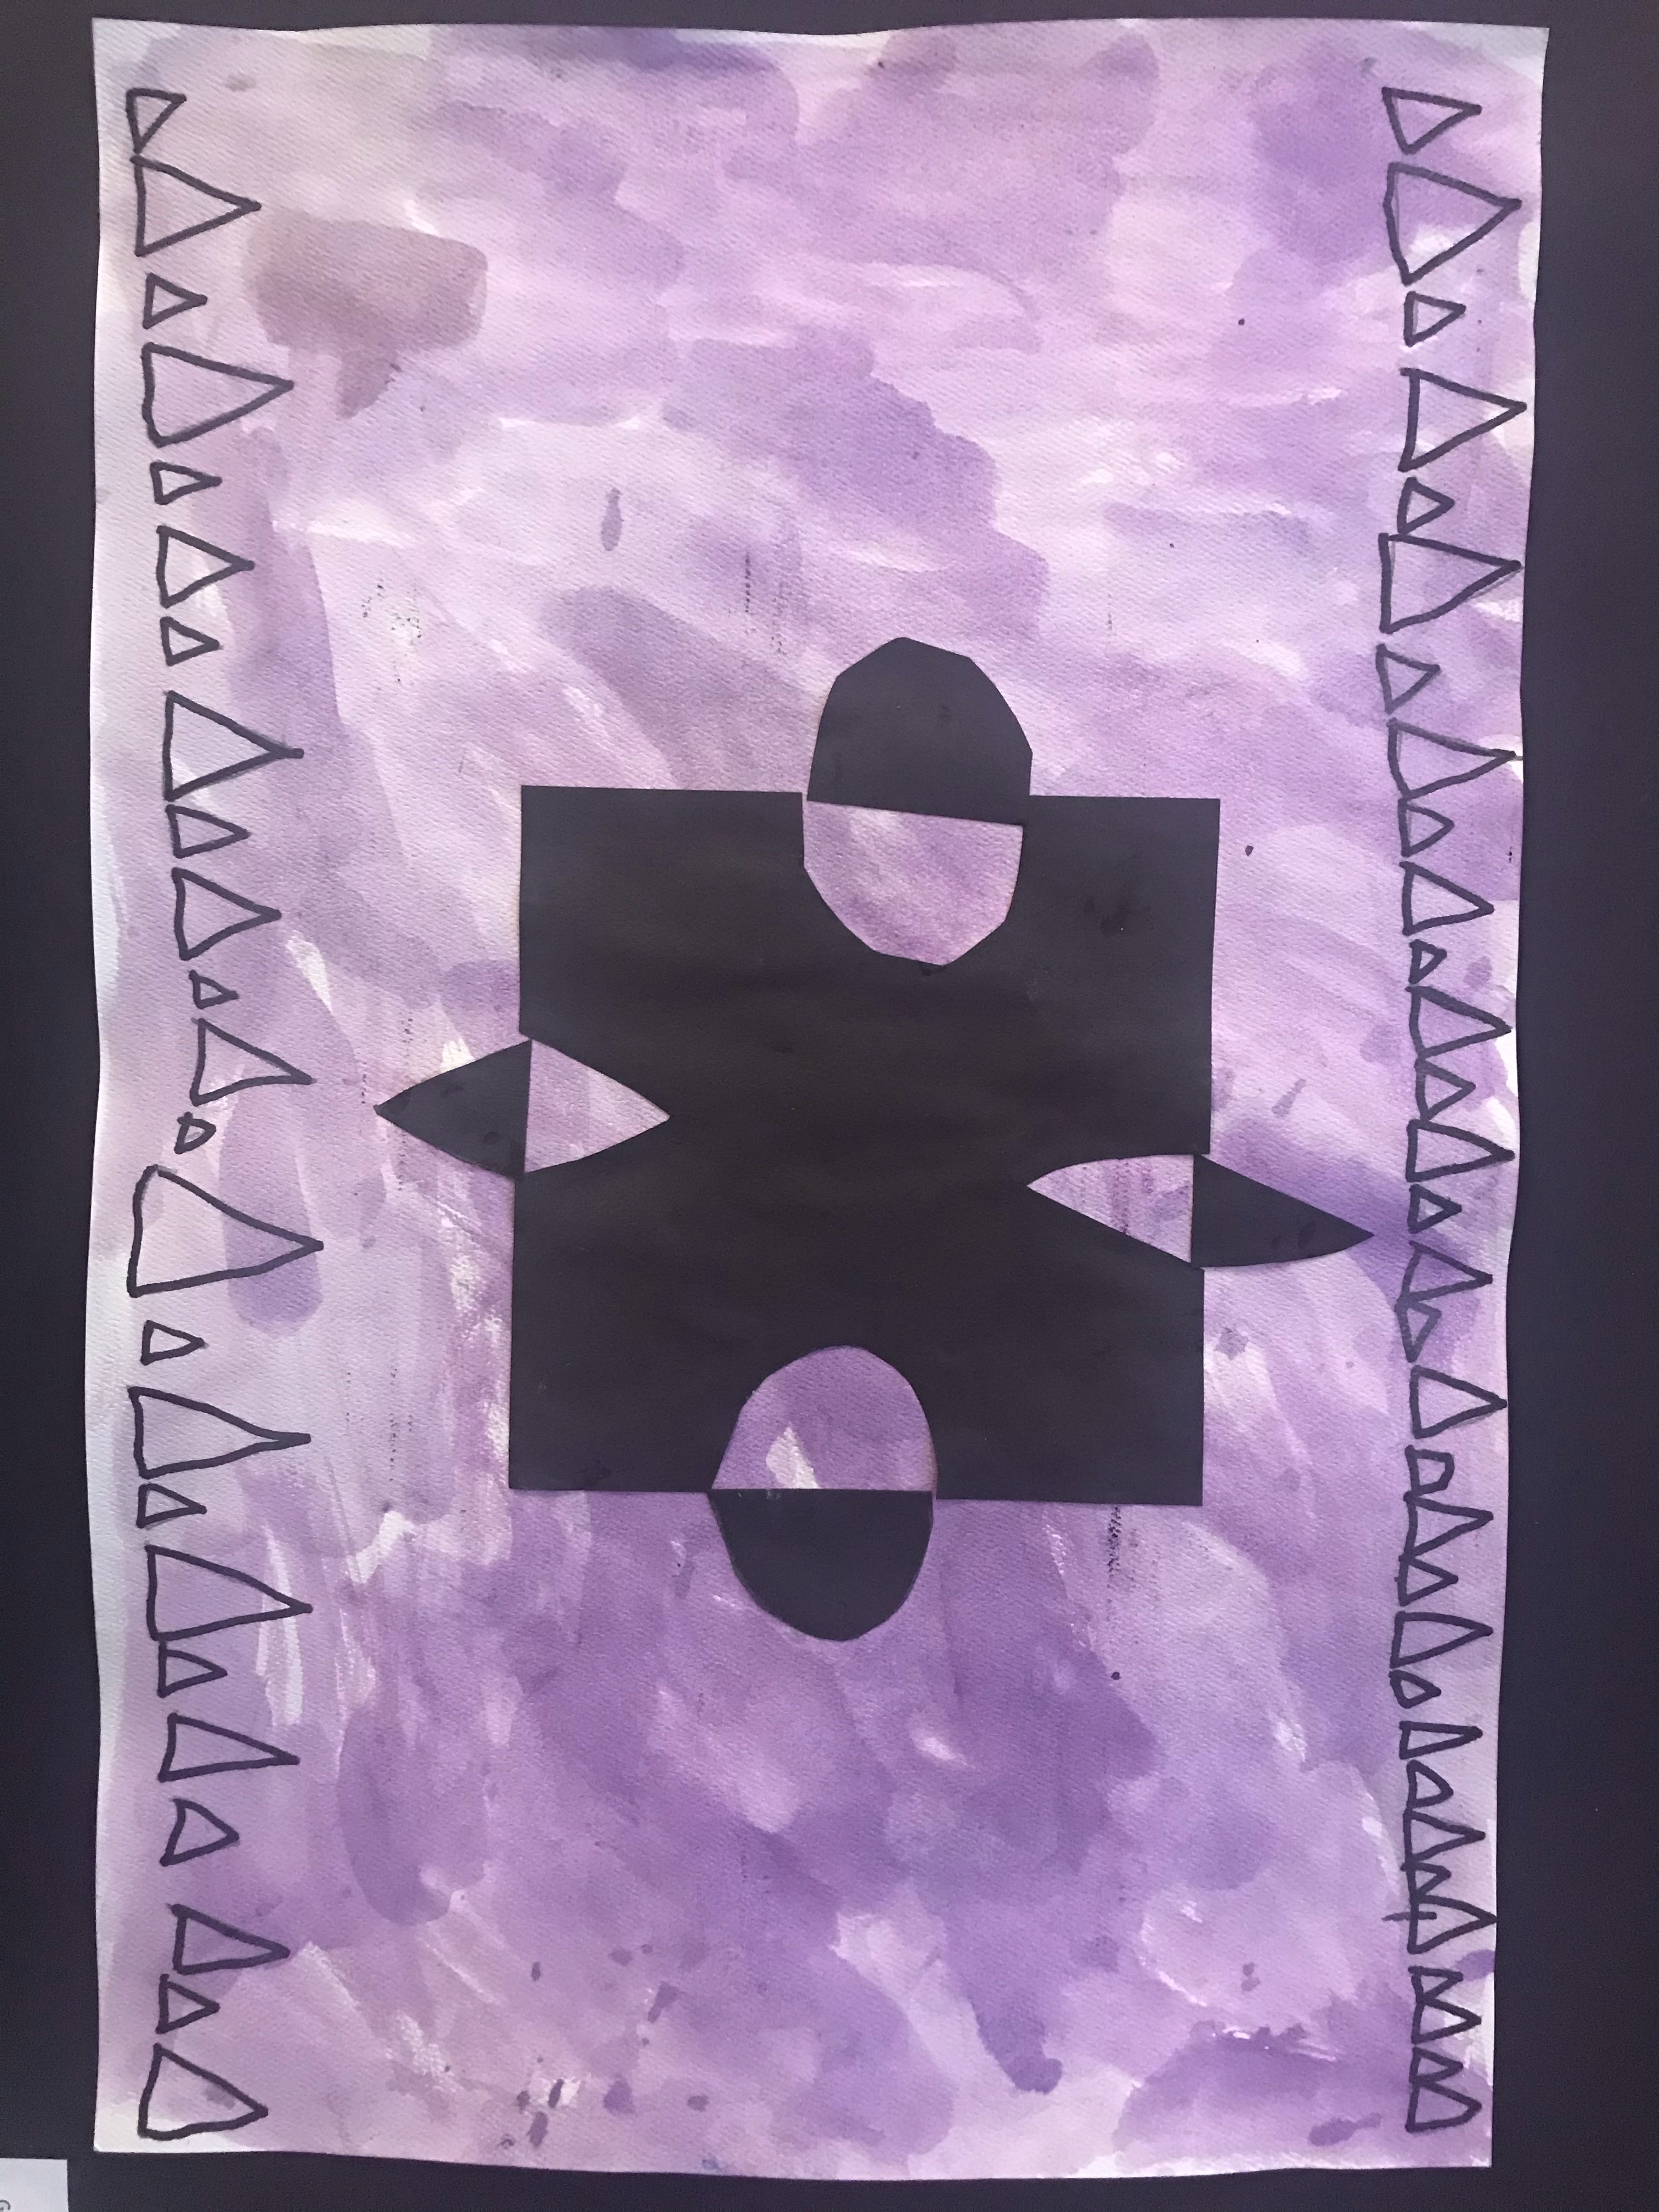
For the next class, I showed the artists samples of Japanese Notan design. Notan means using dark-light as an element of design. It is a great was to introduce positive and negative space. Positive space in art is the area that is occupied by the artist’s subject, like what they have drawn, painted, or glued onto their paper. The negative space is the opposite, or the space around what an artist has created. When an artist creates a Notan, they will be making positive and negative space at the same time. To make a Notan, an artist can cut a shape or type of line from each side of the square. For my older students, I encouraged them to create their own Notans by using different types of curved and angled lines while for my younger students, I provided pre-drawn Notan where a triangle and semi circle where cut out from each side. The x like shape that is left was then glued into the middle of their geometric shape patterned watercolor wash paper. The shapes that were cut out flipped to the outside of the original square and then glued down. These black shapes are the positive space and the areas of watercolor wash that show through are the negative space. Notan designs are also a great example to talk about symmetrical and asymmetrical shapes. The Notans we designed had 2 lines of symmetry, meaning they were the same for the top and bottom half, as well as the same for the right and left side. We discussed how some Notans did not have a line of symmetry and again spied around the room for things with or without symmetry.
For my youngest students, this ends up being a collage project with a focus on developing their fine motor skills to be able to cut better with scissors. I like to walk around the room and shake each artist’s hand and tell them that is the grip they need when they cut. I also taught them the chant, “Elbows in and thumbs up, that’s the way we like to cut!” When an artist keeps their elbow blose to their body, it encourages cutting out ward and not back towards their bellies or other fingers. Getting these youngest artists experience of cutting and being able to cut through the paper is a huge success!

The objective of this project is to create art in different media using various techniques and processes while using tools and media appropriately to maintain a safe and orderly work space.

Leave a comment