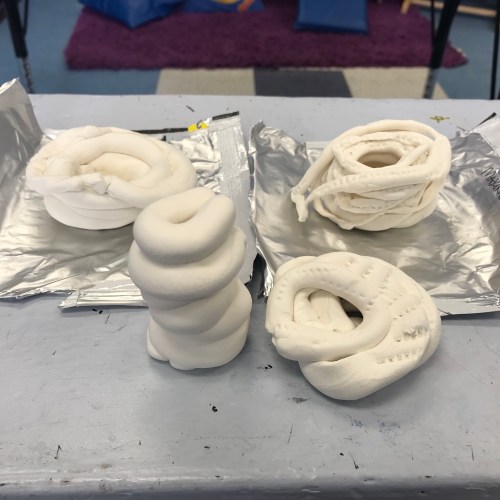
The second project with clay has been creating a coil pot. To create these pots/bowls, clay must be rolled into long, slender rolls that are then stacked one on top of the previous coil. To connect the coils, the surface The technique of rolling and stacking coils allow for pots to be made taller and in a variety of shape, compared to pinching and pulling a single piece of clay, as we did while creating Tom and Jerry. I showed the different shapes of Greek pottery, especially their vases, which were created more than 2 thousand years ago.
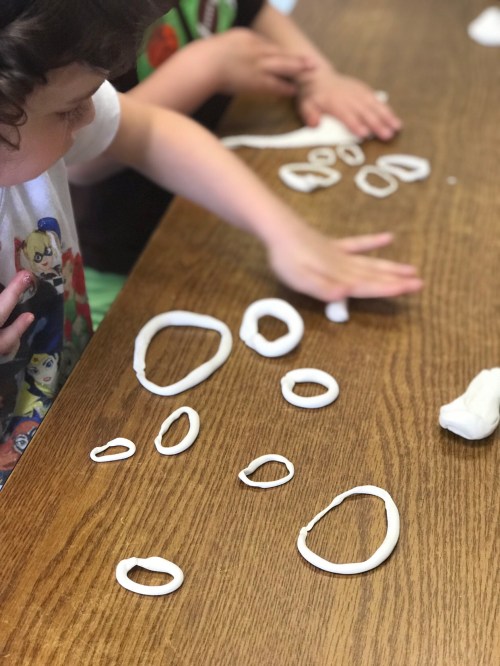
To create their pots, we separated our clay into 4 – 6 pieces. To roll those pieces into a coil, the clay is rolled using a back and forth motion. After all the pieces were rolled into coils, we connected the ends of the coils so that they created a ring. To be able to attach the coils so that they will bond together, I call this the 4 S’s: Score, apply Slip, Stick, and Smooth the line. To score clay, the surface must be roughened with small lines or dots by using any of the clay tools. Next, a thin layer of slip, a mixture of clay and water, must be rubbed onto the scored surface. This is similar to applying glue to pieces of paper for a collage and makes the bond stronger. Then the new piece of clay is gently stuck onto the scored and slipped area of the slab. The final step is to smooth the line left between the two pieces by rubbing the clay back and forth or up and down so that it looks as though the clay was always one piece. My younger classes used Model Magic again so I had them practice scoring the tops of each ring since Model Magic is engineered to stick to itself. The final step is to blend the coils together to finish the bond started with scoring and applying slip.
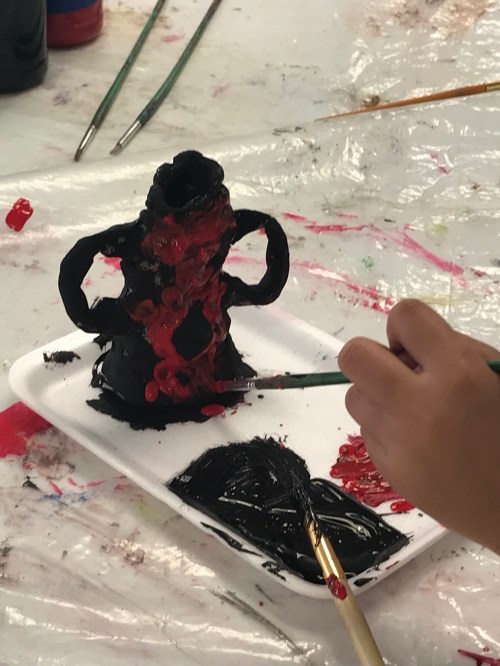
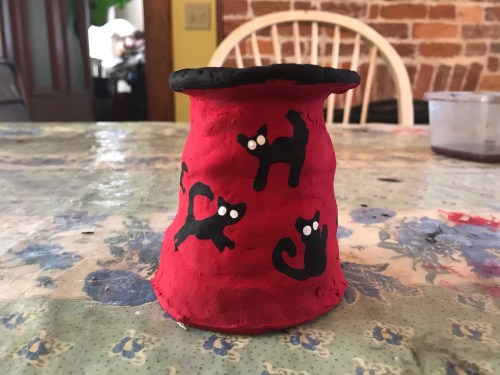
During the second class, we talked about the 3 era’s of Ancient Greek Pottery and the images or designs associated with each era. The oldest Era is the Geometric era from around 1000 BC. These pots used a variety of patterns using different lines and geometric shapes. Any people or animals were very angular and stiff. During the Black Figure Era, around 700 BC, Greek potters painted in more detail Greek people, animals, or Greek Gods. They illustrate daily life, funerals, families, or wartime battles. Greek artisans used repetitive decorations on the tops and bottoms of the vases. Most often, the top pattern uses more organic shapes that may look like leaves or flowers. The bottom pattern would be more geometric, with triangles or angled lines. The final Era was known as the Red Figure Era, when black glaze was painted around the main subject and black lines were used for more detail. The subjects stayed the same in this era as the Black Figure Era. I asked potters to paint one type of Era on their own pots. Most chose the Geometric Era and made black and red patterns on their pots. They were given only black and red paint since red clay was used to build the pots and the only glaze available was black to the Ancient Greeks during that time.
The objective of this lesson is to learn how to work in muddy clay to make a coil pot and to introduce and use the 4 S’s of Applying Clay: Score, Slip, Stick, and Smooth.


Leave a comment